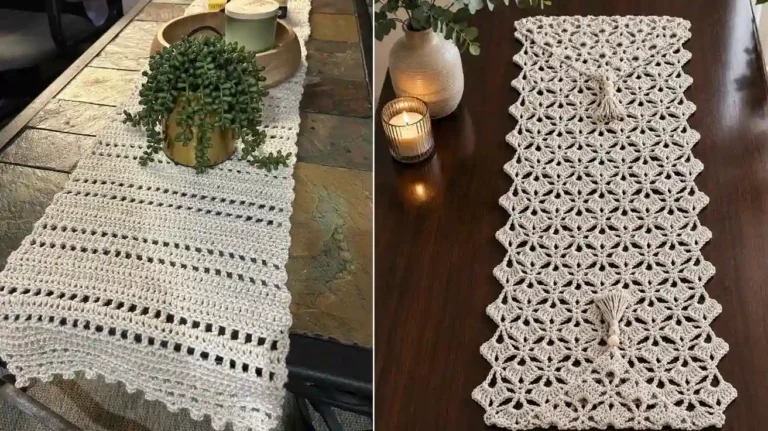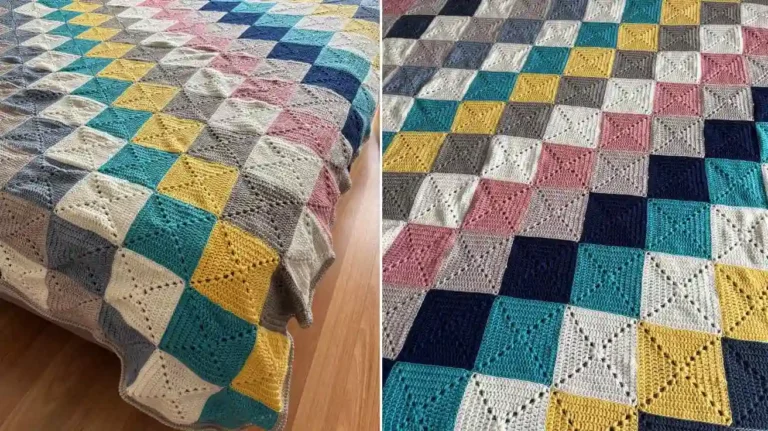
How to Make a Geometric Crochet Table Runner
A geometric crochet table runner is a beautiful way to give your dining table a handmade makeover without making the space feel old-fashioned or overly decorative. With clean lines, repeating shapes, and carefully chosen colors, a geometric crochet table runner can look modern, cozy, minimalist, or even boho depending on the yarn and pattern you choose.
The best part is that you do not need an extremely complicated crochet technique to create one. Geometric designs can be built from simple stitches such as chain stitches, single crochet, double crochet, and clusters. Some geometric crochet table runners use granny-square-style motifs, while others use filet crochet, diamond shapes, triangles, hexagons, or repeating openwork patterns.
In this guide, you will learn how to make a geometric crochet table runner from start to finish, including choosing yarn, selecting colors, measuring your table, creating the geometric pattern, adding a border, blocking the finished piece, and caring for your handmade runner.
Why Make a Geometric Crochet Table Runner?
A crochet table runner is more than just a decoration. It can completely change the appearance of a dining table, coffee table, console, sideboard, or kitchen table.
Geometric crochet patterns are especially attractive because they have a structured appearance. Repeating diamonds, squares, triangles, stripes, and other shapes create visual movement while keeping the overall design organized.
Unlike a traditional lace runner with very delicate floral details, a geometric crochet table runner can have a contemporary appearance. This makes it a great choice for modern homes, farmhouse interiors, Scandinavian spaces, minimalist dining rooms, and colorful boho decorating.
Another advantage is customization. You can make the crochet table runner narrow or wide, short or long, depending on the table you want to decorate. Some existing geometric crochet patterns are specifically designed to allow sections to be added or removed so the finished runner can be adjusted in length.
Materials You Will Need
Before beginning your geometric crochet table runner, gather everything you need.
Cotton Yarn
Cotton is one of the best choices for a crochet table runner because it is durable, washable, and usually has excellent stitch definition.
For a medium-size runner, choose a worsted-weight, DK-weight, or crochet cotton yarn depending on how delicate you want the finished design to look.
If you want a lightweight and lacy runner, crochet thread can work beautifully. For example, filet-style geometric runners are often made with cotton thread and a smaller crochet hook.
For a thicker, more substantial table runner, cotton yarn around worsted weight is easier to handle and produces a bolder design.
Crochet Hook
Use the hook recommended for your yarn. As a starting point:
- DK cotton: approximately 3.5–4 mm hook
- Worsted cotton: approximately 4.5–5.5 mm hook
- Crochet thread: approximately 1.5–2.5 mm hook
Always check how your stitches look rather than relying only on the hook size printed on the yarn label.
Other Supplies
You will also need:
- Scissors
- Tapestry needle
- Measuring tape
- Stitch markers
- Blocking mats or a clean towel
- Rust-resistant pins
- Optional fringe or tassel-making supplies
Choosing the Right Colors for a Geometric Crochet Runner
Color is one of the easiest ways to make a geometric crochet table runner look completely different.
If you want a modern design, try cream, charcoal, beige, taupe, or gray.
For a soft farmhouse look, consider:
- Cream and sage green
- White and dusty blue
- Beige and brown
- Ivory and muted green
For a bold geometric crochet table runner, use contrasting colors such as navy and white, black and cream, terracotta and ivory, or mustard and gray.
You can also create a sophisticated monochromatic runner by using several shades of the same color.
For example, imagine a runner made with:
- Light beige
- Warm tan
- Caramel
- Dark brown
The geometric shapes will still be visible, but the overall appearance will be subtle and elegant.
How to Measure Your Table
Before crocheting, measure the table where you plan to use your runner.
Measure the length and width of the table.
For a traditional dining table, the runner generally looks attractive when it runs along the center of the table and leaves enough table surface visible on both sides.
A common approach is to make the runner long enough to extend slightly beyond each end. However, you can also make a shorter runner that sits entirely on top of the table.
For a personalized project, place your measuring tape directly across the table and decide how much overhang you prefer.
Remember that crochet fabric can relax after washing and blocking, so it is better to make a small test swatch before beginning the entire runner.
Understanding the Geometric Design
The secret to making a geometric crochet table runner is repetition.
You do not necessarily need complicated stitches. Instead, you create a recognizable shape by repeating stitches in a particular arrangement.
For example, you could create:
- Diamond shapes
- Squares
- Triangles
- Hexagons
- Zigzags
- Stripes
- Open grids
- Interlocking blocks
Granny-square-inspired designs are particularly useful because the basic square structure naturally creates geometric lines. Other designs use filet crochet, where filled and open blocks create patterns across the fabric.
How to Make a Simple Geometric Crochet Table Runner
For this tutorial, we will use a simple repeating geometric concept that can be adapted to your preferred table size.
The design combines chain spaces and double crochet stitches to create open geometric sections.
Step 1: Make a Foundation Chain
Begin by making a foundation chain.
The number of chains depends on how wide you want your geometric crochet table runner to be.
For an adjustable design, choose a stitch repeat that can be repeated across the width. Working in a repeat makes it much easier to enlarge or reduce the project.
Do not pull your foundation chain too tightly.
A tight foundation chain can cause the bottom edge of the runner to become narrower than the rest of the fabric.
If you naturally crochet tightly, consider using a slightly larger hook for the foundation chain.
Step 2: Work the First Row
Work your first row using your chosen basic stitch pattern.
For example, you can alternate double crochet stitches with chain spaces to create an open mesh.
The chain spaces are important because they give the geometric design its open appearance.
As you work, count your stitches periodically.
The most frustrating problem with geometric crochet is discovering several rows later that one stitch was accidentally skipped.
Step 3: Begin the Geometric Repeat
Once the foundation row is complete, begin repeating your geometric sequence.
You can create a diamond effect by gradually increasing and decreasing the visual width of open spaces.
The exact stitch arrangement can vary depending on the style you want.
The important thing is consistency.
If one geometric section contains the same number of stitches and spaces as the next section, the design will line up neatly.
Step 4: Change Colors
If you are making a multicolor geometric crochet table runner, change colors at planned intervals.
One simple approach is to change color every two or three rows.
Another option is to use one color for the center of each geometric shape and another color for the surrounding sections.
When changing colors, avoid carrying long strands of unused yarn across the back. Too many carried strands can make the runner thicker and less attractive.
Instead, fasten off neatly or work over short yarn tails where appropriate.
Step 5: Continue the Pattern
Continue crocheting until the runner reaches your desired length.
Lay the project flat every few rows.
This allows you to check whether the geometric shapes are staying straight.
If the fabric begins to curve, ripple, or pull inward, stop and check your stitch count and tension.
Do not wait until the runner is finished to discover that the shape has gradually changed.
Creating Diamond Shapes
Diamonds are one of the most popular choices for a geometric crochet table runner because they look decorative without being overly complicated.
A simple diamond can be created by gradually changing the spacing between stitches.
The first part of the shape becomes wider, the middle reaches its widest point, and the second half narrows again.
When several diamonds are placed next to each other, they create a repeating pattern across the runner.
For a modern look, use a solid background with contrasting diamond shapes.
For a softer appearance, use two colors that are close in tone.
Creating Square Geometric Motifs
Another option is to build your crochet table runner from individual square motifs.
Granny squares are especially useful because they are easy to customize and can be joined into long rectangular arrangements.
A geometric granny-square table runner can use several colors in each square or one color per motif.
You can then arrange the squares in a repeating color sequence.
For example:
Cream → Sage → Cream → Sage
or
Blue → Gray → Cream → Gray → Blue
The arrangement itself becomes part of the geometric design.
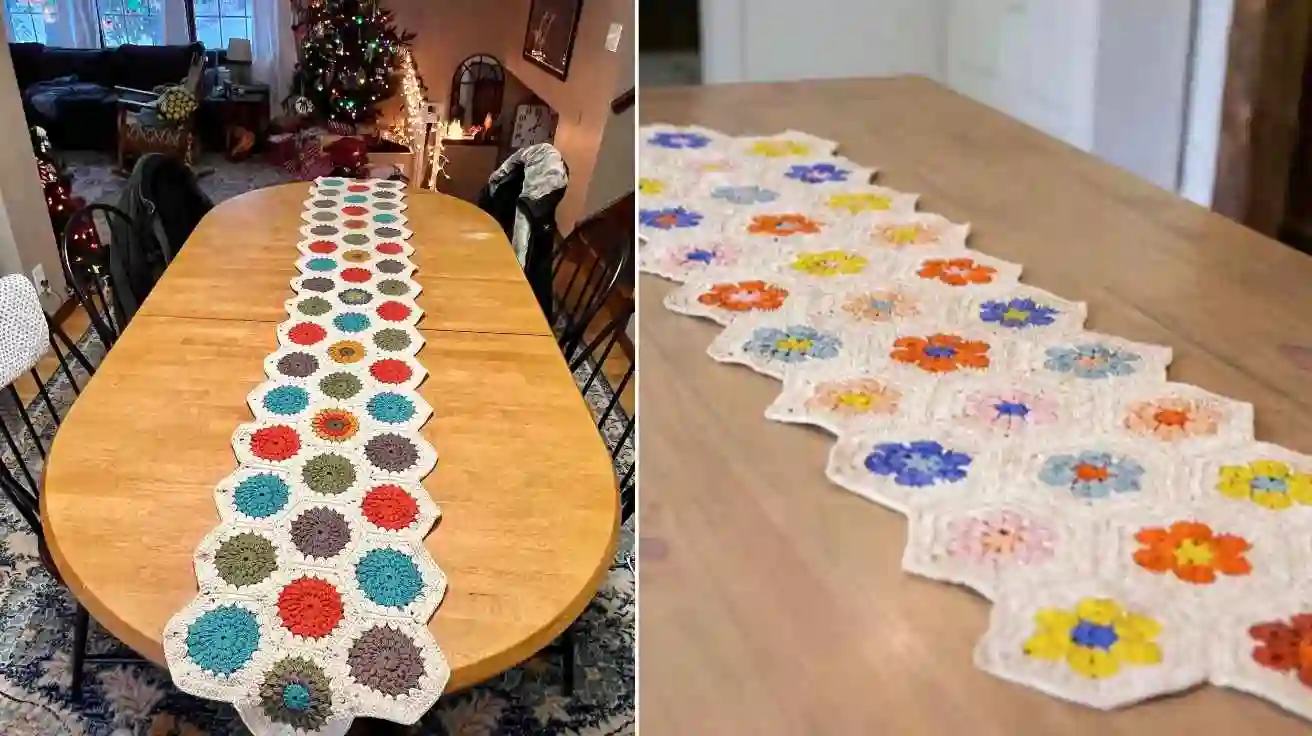
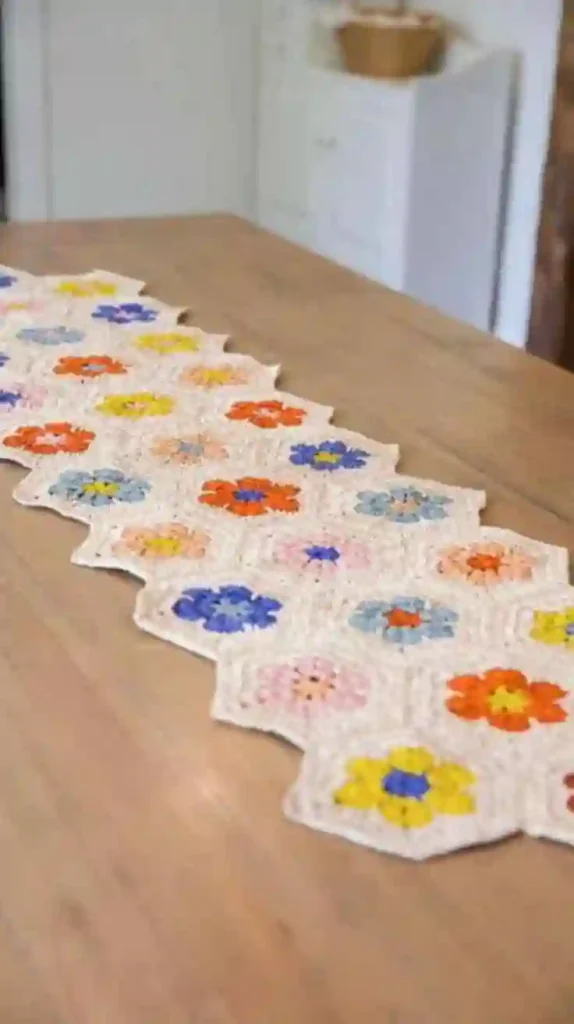
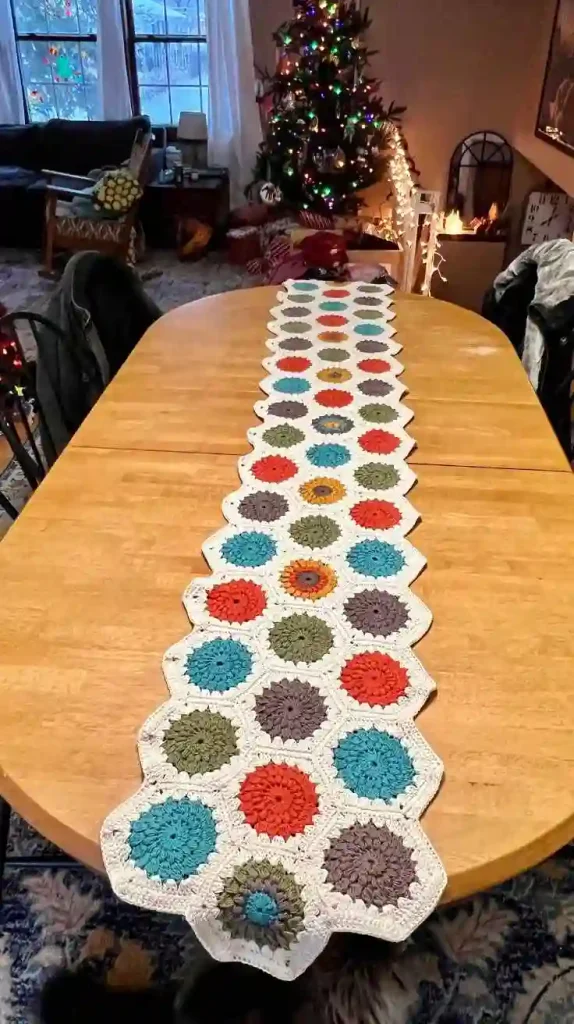
Creating a Hexagon Crochet Table Runner
Hexagons can give your runner a more unusual appearance.
You can crochet individual hexagonal motifs and join them together in rows.
This method is particularly useful if you enjoy making motifs separately instead of crocheting one long piece.
A hexagon-based runner can be extended by adding more motifs, making it easier to adjust the overall length. One existing hexagon table-runner tutorial uses individual hexagonal motifs and explains joining them together into a finished runner.
For a minimalist design, make all the hexagons in one color.
For a colorful runner, alternate three or four shades.
How to Keep Your Geometric Pattern Straight
One of the most important skills when making geometric crochet is maintaining consistent tension.
If your tension changes significantly between rows, your geometric shapes may become uneven.
Here are a few helpful tips:
Count Frequently
Count stitches at the end of each row.
Use Stitch Markers
Place markers at important pattern repeats.
Keep Your Tension Relaxed
Do not pull the yarn aggressively after every stitch.
Check the Fabric
Lay the runner flat regularly.
Make a Swatch
A small swatch can tell you how the yarn, hook, and stitch combination behave before you commit to the entire project.