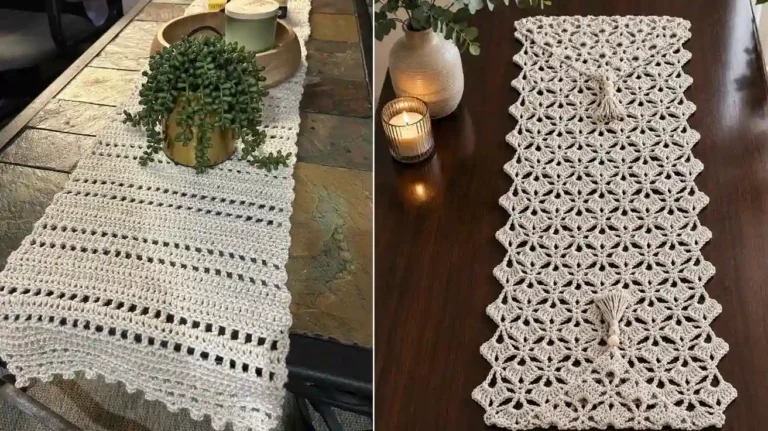
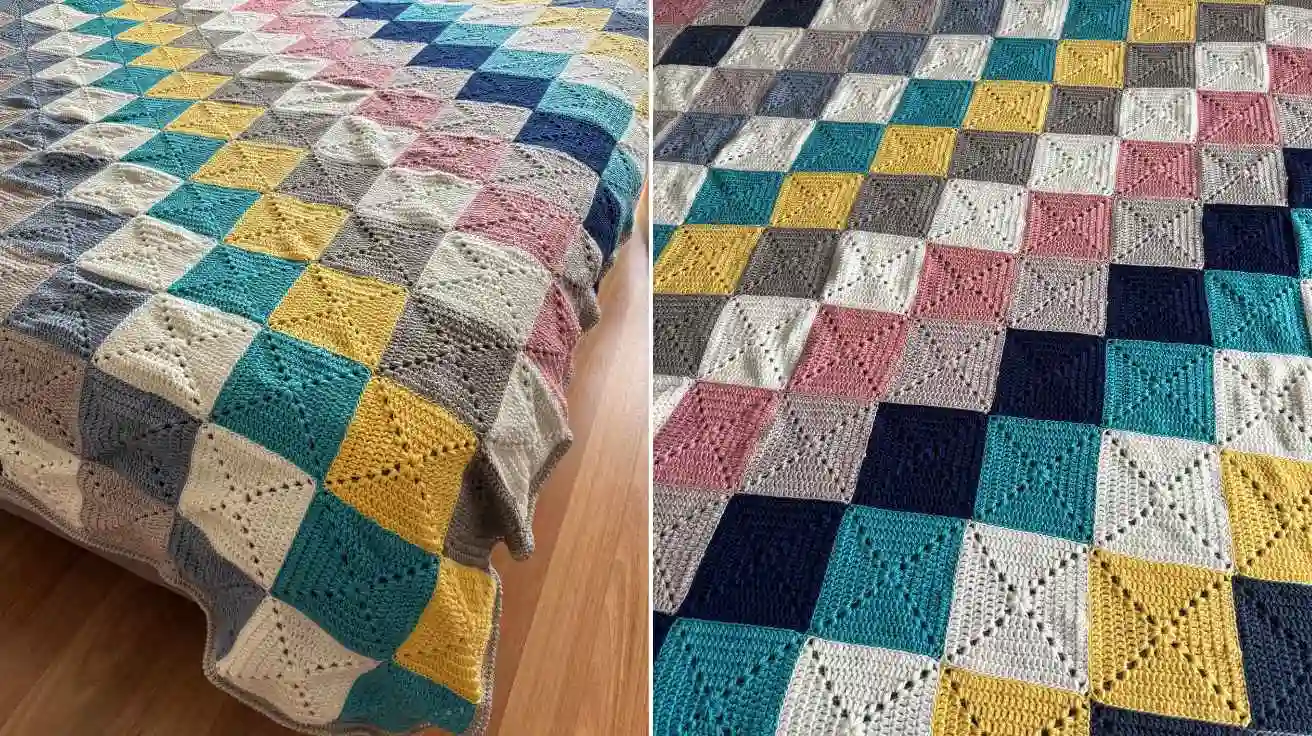
How to Make a Farmhouse Crochet Blanket
There is something wonderfully comforting about a handmade blanket sitting across the back of a sofa or folded neatly at the end of a bed. A farmhouse crochet blanket brings that cozy feeling together with the simple, relaxed beauty of farmhouse décor. With soft neutral colors, classic crochet stitches, and a timeless handmade appearance, it can become one of those pieces you reach for every day.
The good news is that you do not need to be an expert crocheter to make a beautiful farmhouse crochet blanket. With a few basic supplies, an easy crochet stitch, and a little patience, you can create a blanket that looks charming, comfortable, and completely personal.
In this guide, you will learn how to make a farmhouse crochet blanket from start to finish, including choosing yarn, selecting colors, creating the foundation chain, working the rows, adding a farmhouse-style border, and finishing your blanket neatly.
What Makes a Farmhouse Crochet Blanket Special?
Farmhouse style is all about comfort, simplicity, and a lived-in feeling. Unlike very elaborate crochet designs, a farmhouse crochet blanket usually has a clean and understated appearance.
The most popular farmhouse blankets often use:
- Cream, ivory, beige, taupe, or white yarn
- Soft gray or muted brown accents
- Simple crochet stitches
- Stripes or subtle color changes
- Textured but uncomplicated patterns
- A classic border around the edges
- Natural-looking fibers and soft yarn
You can make a farmhouse crochet blanket in almost any size. A small version works beautifully as a lap blanket, while a larger blanket can be used on a queen or king-size bed.
The goal is not perfection. In fact, one of the lovely things about farmhouse décor is that handmade pieces are allowed to have character.
Materials You Need to Make a Farmhouse Crochet Blanket
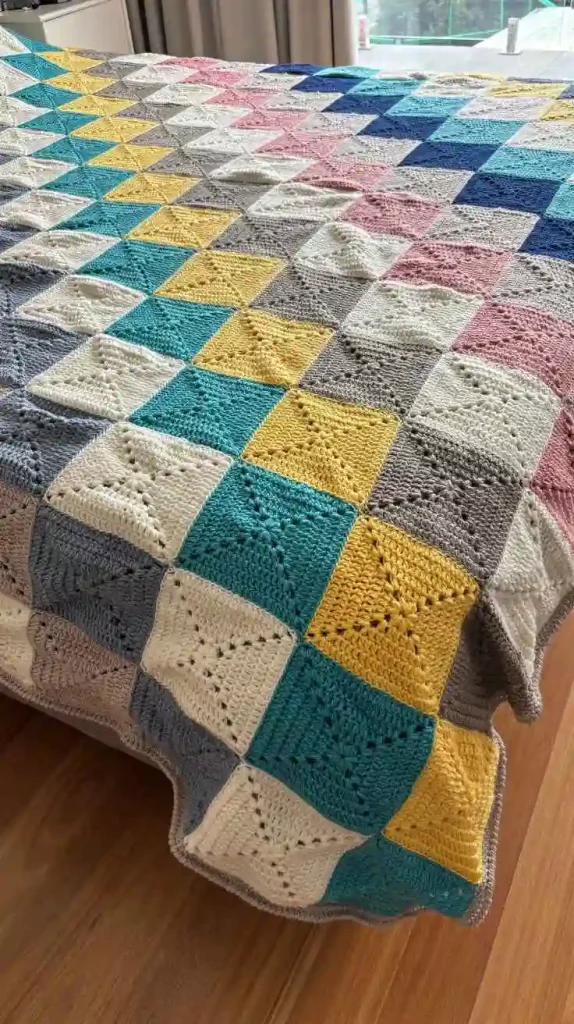
Before beginning your crochet blanket, gather everything you need. Having your supplies ready makes the project much easier and more enjoyable.
Yarn
Choose a soft, washable yarn in a medium or bulky weight depending on the look you want.
For a traditional farmhouse crochet blanket, neutral shades are especially attractive. Try combinations such as:
- Cream and warm beige
- White and light gray
- Oatmeal and ivory
- Taupe and cream
- Soft brown and natural white
- Charcoal gray and cream
A medium-weight acrylic or acrylic-blend yarn is a practical choice because it is affordable, easy to work with, and generally simple to wash.
If you prefer a more natural appearance, cotton or a cotton blend can also create a beautiful farmhouse texture.
Crochet Hook
Use the crochet hook recommended on your yarn label. For many medium-weight yarns, a hook around 5 mm to 6 mm works well.
If your stitches feel too tight, try a slightly larger hook. If the fabric feels extremely loose, a smaller hook may give you better control.
Other Supplies
You will also need:
- Scissors
- Yarn needle
- Measuring tape
- Stitch markers
- A comfortable place to crochet
That is really all you need for a simple farmhouse crochet blanket.
Choosing the Best Colors for a Farmhouse Blanket
Color can completely change the personality of your blanket.
Classic farmhouse décor tends to favor calm, natural colors rather than extremely bright shades. Think about the colors you already have in the room where you plan to use the blanket.
A cream farmhouse crochet blanket is one of the easiest choices because it works with almost everything. It can look beautiful on a wooden chair, neutral sofa, or white bed.
If you want more visual interest, add one or two accent colors.
For example, alternating cream and gray rows creates a soft striped farmhouse design. Cream and beige create a warmer appearance, while white and charcoal give the blanket a slightly more modern farmhouse feeling.
Try not to use too many colors. Two or three shades are usually enough to maintain that simple farmhouse appearance.
Choosing an Easy Crochet Stitch
When making a farmhouse crochet blanket, you do not need a complicated stitch pattern.
A simple half-double crochet stitch is an excellent choice for beginners because it creates a soft fabric with subtle texture.
The basic stitch pattern is easy to repeat:
- Create your foundation chain.
- Work half-double crochet stitches across the row.
- Chain to turn.
- Turn your work.
- Continue making half-double crochet stitches across each row.
- Repeat until the blanket reaches your desired length.
You can also use single crochet, double crochet, moss stitch, or granny-style patterns.
The half-double crochet stitch is particularly nice for a farmhouse blanket because it produces a cozy texture without making the design look too busy.
How to Make a Farmhouse Crochet Blanket Step by Step
Now it is time to start the actual blanket.
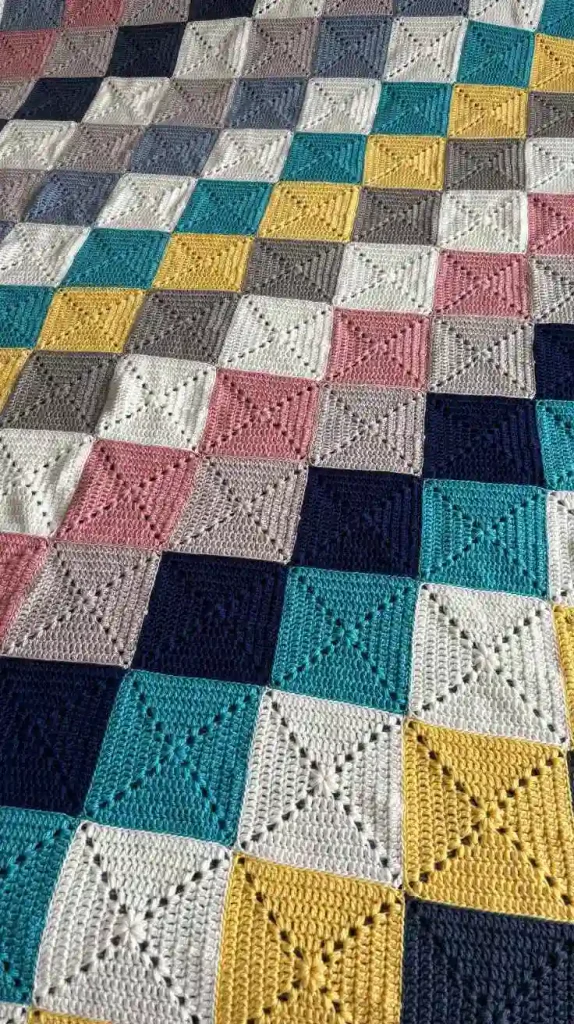
Step 1: Decide the Blanket Size
Before making your foundation chain, decide how large you want the finished blanket to be.
Some useful approximate sizes include:
- Baby blanket: 30 × 36 inches
- Small throw: 40 × 50 inches
- Standard throw: 50 × 60 inches
- Large throw: 60 × 70 inches
- Twin blanket: approximately 65 × 90 inches
- Queen blanket: approximately 90 × 90 inches
These measurements are flexible. Crochet blankets can easily be customized.
For a first farmhouse crochet blanket, a throw-size blanket is a great option. It is large enough to be useful without taking an extremely long time to finish.
Step 2: Make the Foundation Chain
Start with a slip knot on your crochet hook.
Create a chain that is approximately the width you want your blanket to be.
Do not pull your chain stitches too tightly. A very tight foundation chain can cause the bottom edge of your blanket to curl or become narrower than the rest of the project.
Once your chain reaches the desired length, count your stitches carefully.
A simple tip is to place a stitch marker every 10 or 20 stitches. This makes counting much easier, especially when working with a large blanket.
Step 3: Work the First Row
For this farmhouse crochet blanket, use the half-double crochet stitch.
Yarn over, insert your hook into the appropriate chain, yarn over again, and pull up a loop. You should have three loops on your hook.
Yarn over once more and pull through all three loops.
Continue across the foundation chain.
Try to maintain an even tension throughout the row. Your stitches do not have to be perfect, but keeping a consistent tension will help the blanket maintain a neat shape.
Step 4: Turn Your Work
At the end of the row, chain one or two stitches depending on the stitch pattern you are using.
Turn your blanket.
Now work back across the row.
Continue using the same stitch pattern. After several rows, you will begin to see the fabric taking shape.
This is one of the relaxing parts of making a crochet blanket. Once you establish your rhythm, you can settle into the repetitive movement of crocheting.
Step 5: Create Your Farmhouse Stripe Pattern
If you want a striped farmhouse crochet blanket, change colors after a set number of rows.
For example, you could make:
- 6 rows cream
- 4 rows beige
- 6 rows cream
- 4 rows gray
- Repeat
You can make the stripes wide, narrow, or completely random.
For a more traditional farmhouse appearance, wider stripes usually work beautifully.
Another idea is to use one neutral color for most of the blanket and add a contrasting stripe every 10 or 15 rows.
This creates visual interest without overwhelming the simple design.
Step 6: Keep Your Edges Straight
One of the biggest challenges when making a crochet blanket is keeping the edges straight.
It is easy to accidentally add or lose stitches at the beginning or end of a row.
Count your stitches regularly.
If every row should contain 100 stitches, for example, make sure you still have 100 stitches when you reach the end.
You can also place stitch markers in the first and last stitch of each row. This makes it easier to identify where your next stitch belongs.
Do not worry if you make a mistake. Crochet is very forgiving. If you notice a mistake a few rows later, you can carefully undo the stitches and correct it.
Step 7: Continue Until the Blanket Is Long Enough
Keep repeating your chosen stitch pattern until your farmhouse crochet blanket reaches the length you want.
This is where patience becomes important.
A small crochet throw can be completed relatively quickly, while a large bed-size blanket can take considerably longer.
Do not feel pressured to finish it in one sitting.
Crochet a few rows while watching television, listening to music, or relaxing in the evening. A blanket made slowly often becomes even more special because of the time invested in it.
How to Add a Farmhouse Crochet Blanket Border
A border can make a handmade blanket look much more polished.
For a simple farmhouse border, single crochet is an excellent choice.
Work around the outside edge of your blanket, placing stitches evenly along each side.
When you reach a corner, add extra stitches into the corner space. This helps the blanket turn naturally without pulling or curling.
Continue around the entire blanket.
You can stop after one round for a minimalist appearance or add two or three rounds for a thicker border.
A contrasting border can look especially beautiful.
For example, if your blanket is cream and beige, try finishing it with a warm gray border.
Adding a Textured Border
If you want your farmhouse crochet blanket to have more personality, consider adding a textured border.
A simple combination of single crochet and double crochet can create a subtle raised effect.
Another option is a ribbed crochet border. Ribbing gives the edges a cozy, slightly traditional appearance that works beautifully with farmhouse interiors.
The key is to keep the border relatively simple.
Farmhouse crochet designs generally look best when the texture complements the blanket instead of competing with it.
How to Finish Your Crochet Blanket
Once you have completed the final row and border, you are almost finished.
Cut the yarn, leaving a few inches of extra yarn.
Pull the yarn through the final loop and gently tighten it.
Thread the yarn tail onto a yarn needle.
Weave the tail back and forth through several stitches on the back of the blanket. Trim away the excess yarn.
Repeat this process with all remaining yarn ends.
Take your time with this step. Properly weaving in your ends helps prevent your blanket from unraveling and gives the finished project a cleaner appearance.
Blocking Your Farmhouse Crochet Blanket
Blocking is optional, but it can make a noticeable difference.
If your blanket has slightly uneven edges or does not lie completely flat, blocking can help improve its shape.
Depending on the yarn you use, you can gently dampen the blanket and lay it flat on a clean surface.
Shape the edges carefully and allow the blanket to dry completely.
Always check the care instructions for your yarn before using heat or soaking the finished blanket.
Blocking is especially useful if you want your farmhouse crochet blanket to have a neat, professional appearance.
Farmhouse Crochet Blanket Ideas to Try
Once you understand the basic technique, you can create many different farmhouse crochet blanket designs.
Classic Cream Farmhouse Blanket
Use one shade of warm cream throughout the entire blanket.
Add a simple textured border for a timeless look.
This style works particularly well with wood furniture, linen cushions, woven baskets, and neutral interiors.
Gray and White Farmhouse Blanket
Alternate soft gray and white rows to create a clean striped design.
This combination works beautifully in modern farmhouse bedrooms and living rooms.
Beige and Cream Crochet Throw
For a warmer farmhouse appearance, combine beige with cream.
Use wide stripes and a cream border for a soft, cozy finish.
Farmhouse Granny Stripe Blanket
If you love traditional crochet, try a granny stripe design using neutral colors.
Instead of bright rainbow shades, use cream, oatmeal, tan, gray, and soft brown.
The result feels traditional while still fitting beautifully into farmhouse décor.
Chunky Farmhouse Crochet Blanket
For a cozy winter blanket, choose bulky yarn and a large crochet hook.
Chunky crochet stitches create a thick, warm blanket that looks particularly attractive draped over a sofa or wooden bench.
Tips for Making a Better Crochet Blanket
Making a large blanket can sometimes feel intimidating, especially if you are new to crochet.
These simple tips can help.
Check Your Gauge
If the exact finished size matters, make a small gauge swatch before beginning.
Your crochet tension can affect the final dimensions of your blanket.
Buy Enough Yarn
Running out of yarn halfway through a blanket is frustrating.
Estimate how much yarn you need before beginning and consider purchasing an extra skein if the color is difficult to find.
This is particularly important when working with discontinued or seasonal yarn colors.
Keep Your Tension Consistent
Try to maintain the same tension throughout the entire project.
If your first rows are very tight and later rows become loose, the blanket may develop an uneven shape.
Use Stitch Markers
Stitch markers are inexpensive but extremely useful.
They can help identify the first and last stitches of a row and make large crochet projects much easier to manage.
Take Breaks
Large blankets require repetitive hand movements.
Take regular breaks and stretch your hands and wrists.
Crochet should feel relaxing rather than painful.
Why Handmade Crochet Blankets Make Wonderful Gifts
A handmade farmhouse crochet blanket can also make a meaningful gift.
Unlike something purchased quickly from a store, a handmade blanket represents time, patience, and thought.
You could make one for:
- A wedding
- A housewarming
- A new baby
- A birthday
- A holiday
- A close friend
- A family member
Choose colors that match the recipient’s home and add a simple handmade tag if you want to make the gift even more personal.